What are some fiber quilt curve - sewing techniques?
Oct 14, 2025
Leave a message
Hey there, fellow quilt enthusiasts! As a supplier of top - notch Fiber Quilts, I've been in the business long enough to know that curve - sewing in fiber quilts can be a real game - changer. It adds a unique touch and an artistic flair that sets your quilts apart from the ordinary ones. So, let's dive right into some of the curve - sewing techniques that I've found super useful over the years.
1. The Pinning Method
The pinning method is a classic and straightforward way to sew curves on your fiber quilt. First off, you need to cut your fabric pieces along the curve. Make sure you use sharp scissors to get a clean cut. I always recommend using a rotary cutter and a cutting mat for more precision, especially when dealing with complex curves.
Once you've got your fabric pieces ready, place them right sides together. Now, here's the key part: start pinning the fabric along the curve. Begin at the center of the curve and work your way outwards. You want to space the pins about 1/4 inch apart. This helps to keep the fabric in place and prevents it from shifting as you sew.
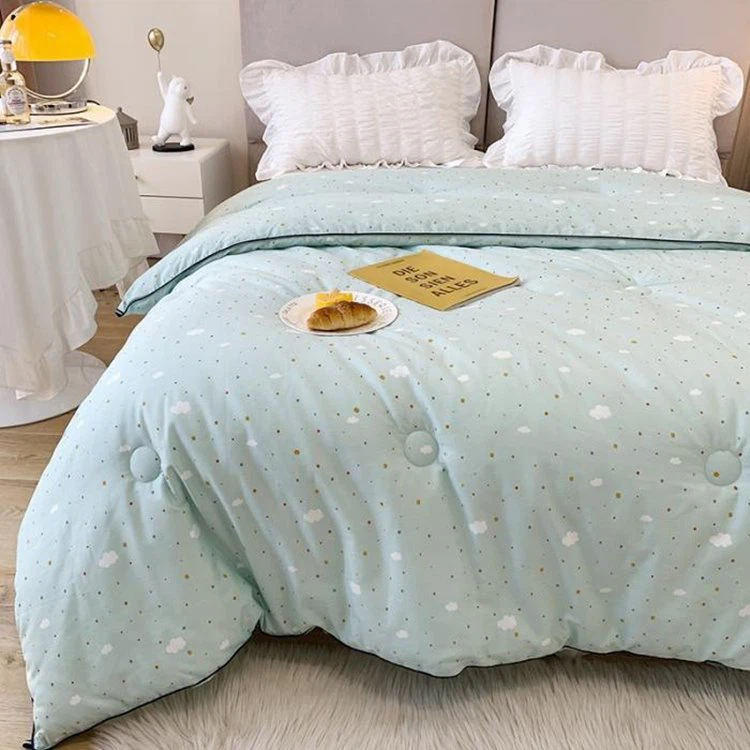
When you're sewing, go slow. Use a short stitch length, around 1.5 to 2 mm. This gives you better control and ensures that the stitches hold the curve well. And don't forget to backstitch at the beginning and end of the curve to secure the stitches. You can find high - quality Fiber Quilts that are perfect for this technique on our website Fiber Quilt.
2. The Free - Motion Quilting Technique
Free - motion quilting is a bit more advanced, but it allows for a lot of creativity. You'll need a sewing machine with a free - motion quilting foot. If you don't have one, it's definitely worth investing in as it opens up a whole new world of possibilities for your fiber quilts.
To start, loosen your bobbin tension a little bit. This helps the thread flow more smoothly as you move the fabric around. Place your fabric on the sewing machine and lower the feed dogs. The feed dogs are those little teeth that move the fabric forward when you're doing regular sewing. By lowering them, you can move the fabric freely in any direction.
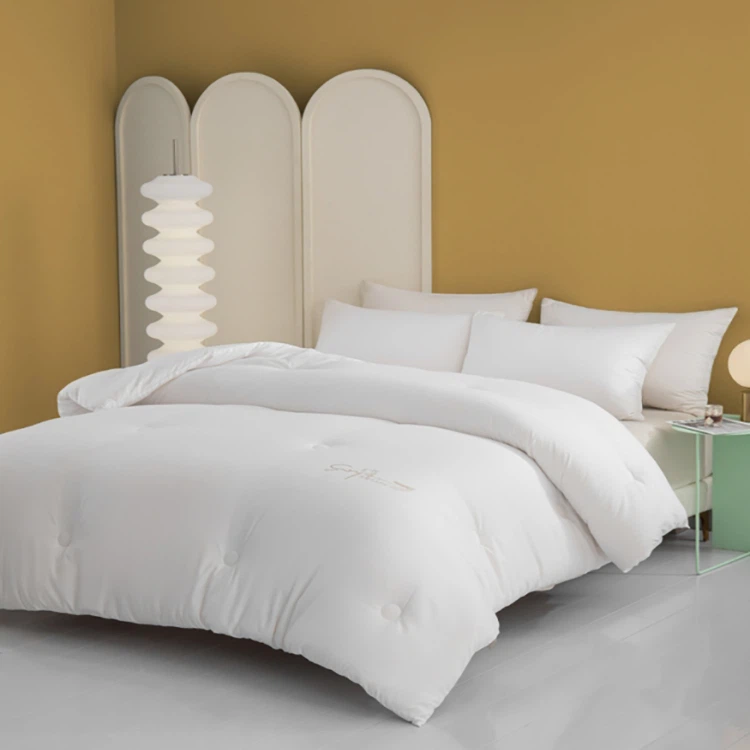
Now, hold the fabric firmly but not too tightly. Start with small, gentle movements. You can create all sorts of curves, from gentle arcs to wild, wavy lines. The key is to practice your hand - eye coordination. It might take a few tries to get the hang of it, but once you do, you'll be able to add amazing curved designs to your fiber quilts. If you're looking for a base to start your free - motion quilting on, our Pure Cotton Quilt provides a great surface.
3. The Paper - Piecing Technique
Paper - piecing is a great option when you want to achieve precise curves. You'll need some paper templates for this technique. You can either draw your own on graph paper or print out pre - made templates from the internet.
First, trace your curve onto the paper template. Then, cut it out. Next, take your fabric and place it right side down on the paper template. Start sewing along the drawn curve on the paper, using a 1/4 - inch seam allowance. As you sew, make small snips in the seam allowance along the curve. This helps the fabric to curve smoothly without bunching up.
Once you've sewn all the way around the curve, carefully tear away the paper. You'll be left with a perfectly curved fabric piece. You can then use this piece to create all sorts of designs on your fiber quilt. This technique is great for making detailed and intricate curved patterns.
4. The Appliqué Method
Appliqué is another fun way to add curves to your fiber quilt. You can use this method to add decorative elements like flowers, leaves, or other shapes with curved edges.
To start, cut out your curved fabric pieces for the appliqué. You can use a variety of fabrics, such as cotton, silk, or even felt. Place the appliqué piece on top of the base fabric of your quilt. You can use a little bit of glue to hold it in place temporarily, but make sure it's a fabric - friendly glue that won't damage the fabric.
Now, you have a couple of options for attaching the appliqué. You can sew it by hand using a small, invisible stitch. This gives a very professional and delicate look. Or, you can use a sewing machine. If you're using a machine, choose a zig - zag stitch or a decorative stitch that suits your design. Sew around the edge of the appliqué, following the curve. This adds a nice, finished look to your fiber quilt.
5. The Bias Tape Method
The bias tape method is useful when you want to finish the edges of a curved piece on your fiber quilt. Bias tape is a strip of fabric that's cut on the bias, which means it has more stretch and can easily follow curves.
First, cut your bias tape to the appropriate length for your curve. Fold the bias tape in half lengthwise, wrong sides together. Place the folded bias tape along the edge of the curved fabric piece, with the raw edges of the bias tape and the fabric piece matching up.
Pin the bias tape in place, starting at one end of the curve and working your way to the other. Sew the bias tape to the fabric using a straight stitch. Then, fold the bias tape over the raw edge of the fabric and stitch it down on the other side. This not only finishes the edge but also adds a decorative touch to your fiber quilt.
Tips for Successful Curve - Sewing
- Choose the Right Thread: For curve - sewing, a fine - gauge thread works best. It's less likely to break and gives a more delicate look. Polyester or cotton threads are great choices.
- Practice on Scrap Fabric: Before you start working on your actual fiber quilt, practice your curve - sewing techniques on scrap pieces of fabric. This helps you get comfortable with the process and makes any necessary adjustments.
- Keep Your Needle Sharp: A dull needle can cause all sorts of problems, like skipped stitches and uneven seams. Replace your needle regularly, especially when working on curves.
Why Choose Our Fiber Quilts?
As a supplier, I can tell you that our Fiber Quilts are made with the highest quality materials. They're soft, warm, and durable, making them perfect for all these curve - sewing techniques. Whether you're a beginner or an experienced quilter, our Fiber Quilts provide a great base for your creative projects. And with our Pure Cotton Quilts, you get the natural feel and breathability that cotton offers.
If you're interested in purchasing our Fiber Quilts for your next curve - sewing project, or if you have any questions about the techniques I've shared, don't hesitate to reach out. We're always here to help you bring your quilting ideas to life. Contact us to start a purchase negotiation and take your quilting to the next level.
References
- "The Complete Guide to Quilting Techniques" by Jane Smith
- "Fiber Arts for Beginners" by John Doe