How do I make a fiber quilt with a circular design?
Oct 15, 2025
Leave a message
Hey there! I'm stoked to share with you the awesome process of making a fiber quilt with a circular design. As a supplier of Fiber Quilt, I've got tons of experience and tips to pass on. So, let's dive right in!
Getting Started: Materials and Tools
First things first, you'll need to gather your materials. For the fiber quilt, you'll want high - quality fiber fill. It gives the quilt that cozy, warm feel. You'll also need fabric. I recommend going for a Pure Cotton Quilt fabric. Cotton is soft, breathable, and easy to work with.
As for tools, you'll need a pair of sharp scissors for cutting the fabric and fiber fill. A rotary cutter can also be super handy, especially for cutting straight lines. Pins are essential to hold the layers of the quilt together while you're working. And don't forget a sewing machine. It'll make the stitching process a whole lot faster and neater.
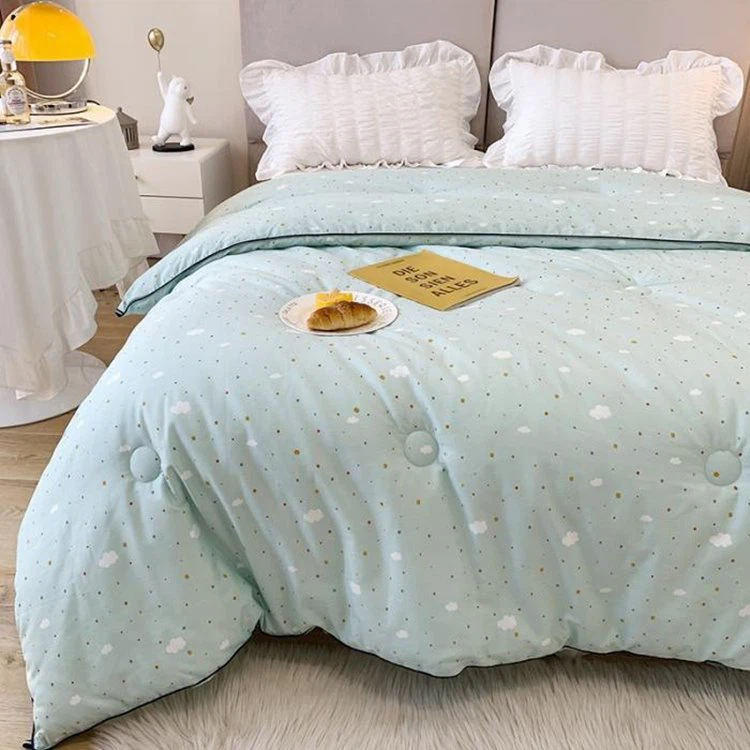
Designing Your Circular Pattern
Now, let's talk about the circular design. You can draw your own circular pattern on paper. Use a compass or a round object like a plate to trace perfect circles. If you're not confident in your drawing skills, you can find tons of circular quilt patterns online. Print them out and use them as a guide.
Once you have your pattern, transfer it onto the fabric. You can use a fabric marker or a piece of chalk. Make sure to place the pattern in the center of the fabric or wherever you want the circular design to be.
Cutting the Fabric and Fiber Fill
After you've got your pattern on the fabric, it's time to cut. Cut out the fabric pieces according to your pattern. You'll usually need two pieces of fabric for the front and back of the quilt, and a piece of fiber fill in between.
When cutting the fiber fill, make sure it's a bit larger than the fabric pieces. This ensures that the quilt will be fully filled and there won't be any empty spots. Use your scissors or rotary cutter to get clean, straight cuts.
Assembling the Quilt Layers
Lay one piece of the fabric on a flat surface, right side down. Place the fiber fill on top of it. Then, put the other piece of fabric on top of the fiber fill, right side up. Make sure the edges of the fabric pieces are aligned.
Use pins to secure the layers together. Start from the center and work your way out to the edges. This helps to keep the layers from shifting. You can also use a quilting ruler to make sure the pins are evenly spaced.
Stitching the Circular Design
Now comes the fun part - stitching the circular design. If you're using a sewing machine, set it to a straight stitch. Start at the center of the circle and work your way outwards. You can stitch around the circles multiple times to make the design more prominent.
If you want to add some decorative stitching, you can use a zig - zag stitch or a fancy stitch on your sewing machine. Just make sure the thread color complements the fabric.
As you're stitching, keep the quilt layers taut. This will help to prevent puckering and ensure a smooth finish. You can also use a walking foot on your sewing machine. It helps to feed the layers evenly through the machine, especially when working with thick fabrics and fiber fill.
Finishing the Quilt
Once you've stitched the circular design, it's time to finish the edges of the quilt. You can use a binding tape to cover the raw edges. Cut the binding tape to the appropriate length and sew it onto the edges of the quilt. Start at one corner and work your way around.
Fold the binding tape over to the back of the quilt and sew it down. This gives the quilt a professional look and prevents the fabric from fraying.
Tips and Tricks
- Use a quilting hoop: If you're hand - stitching the circular design, a quilting hoop can help to keep the fabric taut and make the stitching easier.
- Pre - wash the fabric: It's a good idea to pre - wash the fabric before making the quilt. This helps to prevent shrinking and color bleeding after the quilt is finished.
- Experiment with colors: Don't be afraid to mix and match different colors of fabric and thread. This can make your circular fiber quilt really stand out.
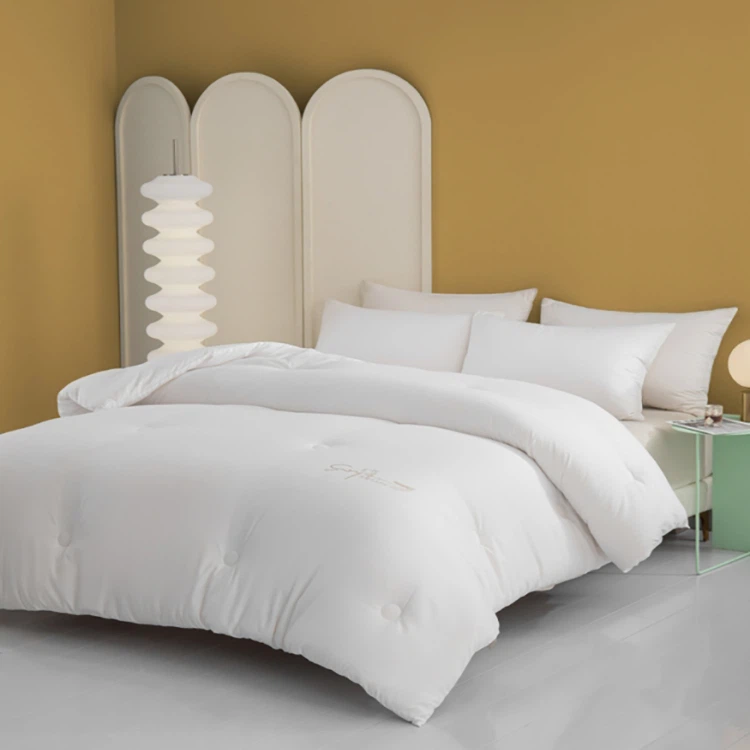
Why Choose Our Fiber Quilts?
As a supplier, we take pride in providing high - quality Fiber Quilt. Our fiber fill is soft, hypoallergenic, and retains heat well. The fabrics we use are carefully selected for their quality and durability. Whether you're a beginner or an experienced quilter, our products are perfect for making beautiful circular fiber quilts.
If you're interested in purchasing our fiber quilts or materials for making your own, we'd love to have a chat with you. We can offer you great deals and answer any questions you might have. Just reach out to us, and we'll start the conversation about your fiber quilt needs.
Conclusion
Making a fiber quilt with a circular design is a rewarding and fun project. With the right materials, tools, and a bit of creativity, you can create a beautiful and cozy quilt that you'll be proud to show off. As a Fiber Quilt supplier, we're here to support you every step of the way. So, what are you waiting for? Start your circular fiber quilt project today!
References
- Quilting for Beginners: A Step - by - Step Guide. Author Unknown.
- The Art of Quilt Design. Various Authors.