How to make a fair - isle and cable knit blanket?
Jul 18, 2025
Leave a message
Embarking on the journey of creating a fair - isle and cable knit blanket is a rewarding endeavor that combines artistry and craftsmanship. As a seasoned knit blanket supplier, I'm excited to share with you the step - by - step process of making these beautiful and intricate blankets.
Understanding the Basics
Before we delve into the knitting process, it's essential to understand what fair - isle and cable knitting are. Fair - isle knitting is a colorwork technique that originated in the Shetland Islands. It involves using multiple colors in a single row to create geometric patterns. Cable knitting, on the other hand, gives the illusion of ropes twisting over each other. These two techniques can be combined to produce a blanket that is both visually stunning and warm.
Choosing the Right Yarn
The choice of yarn is crucial as it will determine the feel, weight, and durability of your blanket. For a fair - isle and cable knit blanket, you want a yarn that is soft, warm, and has good stitch definition. Wool is a popular choice due to its natural insulation properties and ability to hold its shape. Acrylic yarns are also a great option as they are affordable, easy to care for, and come in a wide range of colors.
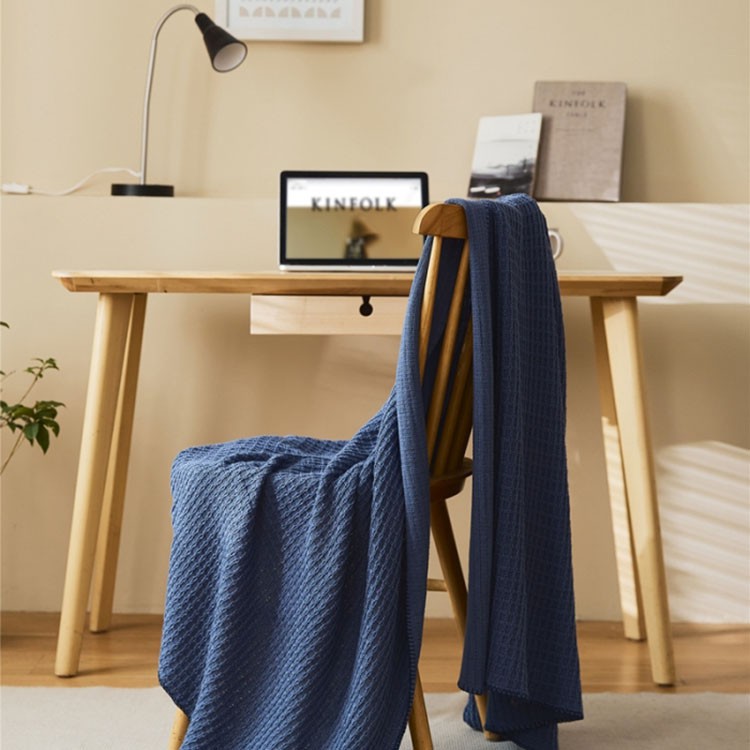
If you're looking for specific types of yarn - based blankets, we offer a Soft Cotton Throw Blanket that is perfect for a light and breathable option. Our Cotton Knit Blanket is another great choice, providing a comfortable and durable cover. And for a different texture, the Soft Waffle Blanket adds a unique touch to your home decor.
Gathering Your Tools
To start knitting your fair - isle and cable knit blanket, you'll need the following tools:
- Knitting Needles: Choose needles that are appropriate for the weight of your yarn. For most blankets, a size US 8 - 10 (5 - 6 mm) needle is a good starting point.
- Cable Needles: These are smaller needles used to create the cable patterns. You'll need at least one or two depending on the complexity of your design.
- Stitch Markers: These help you keep track of your pattern repeats and changes in color.
- Yarn: Select your desired colors for the fair - isle pattern. You'll need enough yarn to complete the entire blanket.
Casting On
The first step in any knitting project is casting on the stitches. For a blanket, you'll want to cast on enough stitches to achieve the desired width. A common method is the long - tail cast - on, which creates a stretchy edge. Here's how to do it:
- Make a slip knot on your needle.
- Wrap the working yarn around your thumb and the tail end around your index finger.
- Insert the needle between your thumb and index finger, pick up the loop on your index finger, and pull it through the loop on your thumb.
- Repeat this process until you have the desired number of stitches.
Knitting the Fair - Isle Pattern
Once you've cast on your stitches, it's time to start the fair - isle pattern. Begin by choosing a simple pattern to practice with. You can find many free fair - isle patterns online or in knitting books.
- Work the first row in the main color.
- On the next row, introduce the second color. Carry the unused color along the back of the work as you knit with the other color. Make sure to keep the carried yarn loose to avoid puckering.
- Follow your pattern instructions carefully, changing colors as needed. Use stitch markers to mark the beginning and end of each pattern repeat.
Creating the Cable Patterns
Cable knitting adds an extra dimension to your blanket. To create a cable, you'll need to use a cable needle.
- Decide where you want to place your cables in your pattern. Mark the stitches that will form the cable with stitch markers.
- Slip the stitches for the cable onto the cable needle. You can either hold the cable needle in front or behind the work, depending on the direction of the cable you want to create.
- Knit the next set of stitches on your main needle.
- Then, knit the stitches from the cable needle.
Joining the Colors
As you work on your fair - isle pattern, you'll need to join new balls of yarn when one runs out. To do this, simply leave a 6 - 8 inch tail of the old yarn. Tie the new yarn to the old yarn using a square knot. Weave in the tails later to secure the join.
Knitting the Rows
Continue knitting row after row, following your pattern for both the fair - isle and cable elements. As you work, make sure to check your tension regularly. If your stitches are too tight, your blanket may end up smaller than expected. If they are too loose, the blanket may be floppy.
Increasing and Decreasing Stitches
You may need to increase or decrease stitches to shape your blanket or to adjust the pattern. To increase stitches, you can use methods like knitting in the front and back of a stitch. To decrease stitches, use techniques like knitting two stitches together.
Binding Off
Once you've reached the desired length of your blanket, it's time to bind off the stitches. The bind - off creates the finished edge of your blanket. Here's a simple method:
- Knit the first two stitches.
- Pass the first stitch over the second stitch and off the needle.
- Knit another stitch, then pass the previous stitch over it.
- Repeat this process until you have one stitch left on the needle. Cut the yarn and pull it through the last stitch to secure.
Finishing Touches
After binding off, your blanket is almost complete. But there are a few finishing touches to make it look its best.
- Weave in all the loose ends. Use a tapestry needle to thread the ends through the back of the work, making sure they are well - hidden.
- Block your blanket. Blocking helps to even out the stitches and gives the blanket a professional look. Soak the blanket in lukewarm water with a little wool wash. Gently squeeze out the excess water, then lay the blanket flat on a towel and reshape it to the desired dimensions. Let it dry completely.
Quality Control
As a knit blanket supplier, quality control is of utmost importance. After finishing your blanket, carefully inspect it for any loose stitches, uneven tension, or color inconsistencies. If you find any issues, you can make the necessary repairs before considering it a finished product.

Conclusion
Making a fair - isle and cable knit blanket is a labor - of - love project that requires patience and skill. But the end result is a beautiful, one - of - a - kind blanket that you can be proud of. Whether you're knitting for yourself, as a gift, or for sale, the process is both therapeutic and rewarding.
If you're interested in purchasing high - quality knit blankets or have any questions about our products, we invite you to contact us for procurement and further discussions. We're always happy to assist you in finding the perfect blanket for your needs.
References
- "The Knitter's Book of Yarn" by Clara Parkes
- "The Principles of Knitting" by June Hemmons Hiatt