How do I quilt around appliques on a fiber quilt?
Sep 18, 2025
Leave a message
Quilting around appliques on a fiber quilt is a captivating and rewarding technique that adds a unique touch to your textile art. As a supplier of high - quality Fiber Quilts, I've had the privilege of exploring various quilting methods and sharing my knowledge with fellow enthusiasts. In this blog, I'll guide you through the process of quilting around appliques on a fiber quilt, from preparation to the final touches.
Understanding the Basics of Fiber Quilts
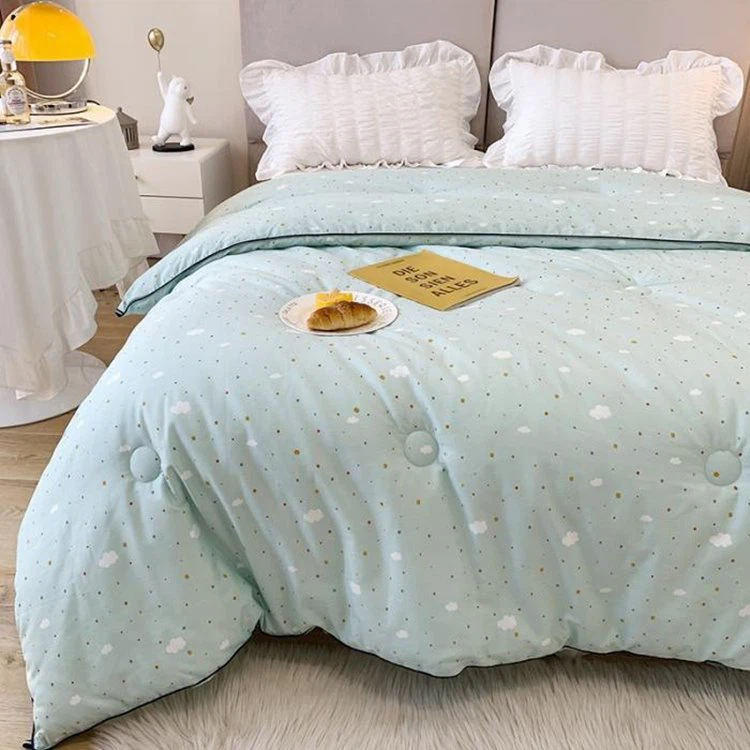
Before delving into the applique quilting process, it's essential to understand what a Fiber Quilt is. A fiber quilt is a type of quilt that uses fiberfill as its batting material. Fiberfill provides a lightweight, soft, and warm alternative to traditional batting materials like cotton or wool. It's also hypoallergenic, making it a great choice for those with sensitive skin.
Fiber quilts come in a variety of styles and designs, from simple geometric patterns to intricate, hand - appliqued masterpieces. The flexibility of fiberfill allows for more creative freedom when it comes to quilting, as it can easily conform to different shapes and contours.
Preparing Your Applique and Quilt
The first step in quilting around appliques on a fiber quilt is to prepare your applique pieces and the quilt top. Start by selecting the fabric for your appliques. You can choose from a wide range of fabrics, including cotton, silk, or even synthetic materials. Make sure the fabric is compatible with the fiber quilt top and that it will hold up well during the quilting process.
Once you've selected your fabric, trace your applique designs onto the wrong side of the fabric using a fabric marker or a light - box. Cut out the applique pieces carefully, leaving a small seam allowance around the edges. You can use a sharp pair of fabric scissors or a rotary cutter for this step.
Next, position your applique pieces on the fiber quilt top. You can use pins or a temporary adhesive spray to hold the pieces in place. Take your time to arrange the appliques in a way that is visually appealing and balanced. Consider the overall design of the quilt and how the appliques will fit into the pattern.
Basting the Applique and Quilt
After positioning the appliques on the quilt top, it's time to baste them in place. Basting is the process of temporarily holding the layers of the quilt together before quilting. There are several methods you can use to baste your applique and quilt, including hand - basting, machine - basting, or using a basting spray.
Hand - basting is a traditional method that involves using a long, running stitch to sew the layers of the quilt together. This method gives you more control over the basting process and allows you to adjust the tension of the stitches as needed. Machine - basting, on the other hand, is a quicker method that uses a straight stitch on your sewing machine to sew the layers together.
If you prefer a more convenient option, you can use a basting spray. Basting sprays are adhesive sprays that are specifically designed for quilting. Simply spray the basting spray on the back of the applique pieces and the quilt top, and then press them together. This method provides a strong, temporary bond that will hold the layers in place during the quilting process.
Choosing the Right Quilting Thread
Selecting the right quilting thread is crucial for achieving a professional - looking finish when quilting around appliques. The thread you choose should be strong, durable, and compatible with the fabric of your fiber quilt and appliques.
Cotton thread is a popular choice for quilting because it is strong, easy to work with, and comes in a wide range of colors. Polyester thread is another option that is known for its strength and resistance to stretching. Silk thread can also be used for a more luxurious look, but it is more delicate and may require more care when quilting.
When choosing the color of your quilting thread, consider the color of the appliques and the quilt top. You can choose a thread color that matches the appliques for a seamless look, or you can choose a contrasting color to add visual interest.
Quilting Around the Applique
Now that you've prepared your applique, quilt, and thread, it's time to start quilting around the applique. There are several techniques you can use to quilt around appliques, including echo quilting, contour quilting, and free - motion quilting.
Echo quilting involves sewing a series of parallel lines around the edge of the applique, following the shape of the design. This technique adds depth and dimension to the applique and helps to secure it to the quilt top. To echo quilt, start by sewing a line about 1/8 inch from the edge of the applique. Then, sew additional lines parallel to the first line, gradually increasing the distance between the lines as you move away from the applique.
Contour quilting is similar to echo quilting, but instead of sewing parallel lines, you sew along the contours of the applique design. This technique is ideal for appliques with irregular shapes or curves. To contour quilt, use a walking foot on your sewing machine to help guide the fabric as you sew. Follow the shape of the applique closely, making small adjustments to your stitching as needed.
Free - motion quilting is a more advanced technique that allows you to create your own unique quilting designs. To free - motion quilt, you'll need to use a free - motion foot on your sewing machine and disengage the feed dogs. This will allow you to move the fabric freely under the needle, creating fluid, continuous stitches. You can use free - motion quilting to add decorative elements to your appliques, such as swirls, loops, or feathers.
Finishing Touches
Once you've finished quilting around the appliques, it's time to add the finishing touches to your fiber quilt. Start by trimming any excess fabric or threads from the edges of the quilt. You can use a sharp pair of scissors or a rotary cutter for this step.
Next, bind the edges of the quilt. Binding is the process of attaching a strip of fabric to the edges of the quilt to finish it off and prevent the layers from fraying. You can choose from a variety of binding styles, including single - fold binding, double - fold binding, or bias binding.
To attach the binding, start by folding the binding strip in half lengthwise, wrong sides together. Place the folded edge of the binding strip along the raw edge of the quilt, with the right side of the binding facing the right side of the quilt. Pin the binding in place, making sure to miter the corners.
Sew the binding to the quilt using a straight stitch or a decorative stitch. Then, fold the binding over to the back of the quilt and hand - stitch it in place using a blind stitch or a slip stitch. This will give your quilt a professional - looking finish.
Conclusion
Quilting around appliques on a fiber quilt is a beautiful and rewarding technique that allows you to express your creativity and add a personal touch to your textile art. By following the steps outlined in this blog, you can create a stunning fiber quilt with appliques that will be cherished for years to come.
As a Fiber Quilt supplier, I'm passionate about helping others discover the joy of quilting. If you're interested in purchasing high - quality fiber quilts or have any questions about the quilting process, I encourage you to reach out to me. We also offer Pure Cotton Quilts for those who prefer a more traditional option. Let's start a conversation about your quilting needs and explore the possibilities together!
References
- “The Complete Guide to Quilting.” Quilting Magazine.
- “Applique Techniques for Quilters.” Craftsy.
- “Fiberfill Basics: Everything You Need to Know.” Quilting Daily.