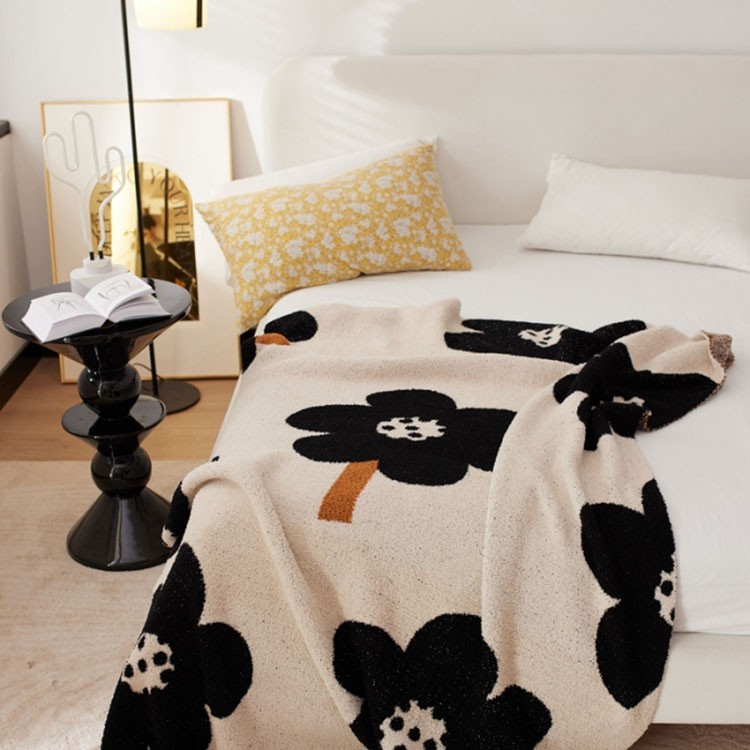
How do I make a knit blanket with a paisley pattern?
Jul 31, 2025
Leave a message
As a supplier of Knit Blanket, I'm often asked about the process of creating a knit blanket with a paisley pattern. It's a fascinating journey that combines artistry, skill, and a love for creating cozy, beautiful items. In this blog, I'll walk you through the steps of making such a blanket, sharing insights and tips along the way.
Understanding the Paisley Pattern
The paisley pattern is a distinctive and timeless design that has its roots in ancient Persia. It features a teardrop-shaped motif with a curved, swirling shape, often filled with intricate details. The pattern is known for its elegance and versatility, making it a popular choice for a variety of textile products, including knit blankets.
Before you start knitting, it's important to have a clear understanding of the paisley pattern you want to use. You can find inspiration from various sources, such as vintage textiles, online pattern libraries, or even create your own design. Sketch out the pattern on graph paper to visualize how it will look on the blanket and to plan the placement of the stitches.
Choosing the Right Yarn
The choice of yarn is crucial in creating a high-quality knit blanket. It affects not only the appearance but also the texture, warmth, and durability of the finished product. When making a paisley-patterned knit blanket, consider the following factors:
- Fiber Content: Natural fibers like wool, cotton, and silk offer different qualities. Wool is warm, soft, and elastic, making it a great choice for blankets. Cotton Throw Blanket is breathable, hypoallergenic, and easy to care for. Silk adds a luxurious sheen and softness. You can also choose blends that combine the best properties of different fibers.
- Weight: The weight of the yarn determines the thickness and drape of the blanket. For a cozy, warm blanket, choose a medium to thick weight yarn. Thinner yarns can be used for lighter, more delicate blankets.
- Color: Select colors that complement the paisley pattern and create the desired aesthetic. You can use a single color for a classic look or multiple colors to add depth and interest. Consider using variegated yarns to create a more dynamic effect.
Selecting the Knitting Needles
The size of the knitting needles you choose depends on the weight of the yarn and the desired tension of the stitches. A general rule of thumb is to use needles that are slightly larger than the recommended size for the yarn to create a looser, more open stitch. This will make the blanket softer and more drapey.
For a paisley-patterned knit blanket, you may also need to use different sizes of needles for different parts of the pattern. For example, you might use smaller needles for the intricate details of the paisley motif and larger needles for the background stitches.
Casting On
The casting-on process is the first step in starting your knit blanket. There are several casting-on methods to choose from, each with its own characteristics. For a paisley-patterned blanket, the long-tail cast-on is a popular choice as it creates a stretchy edge that will not distort the pattern.
To cast on using the long-tail method, follow these steps:
- Cut a length of yarn that is about three times the width of the desired blanket.
- Make a slip knot and place it on the needle.
- Hold the needle with the slip knot in your right hand and the end of the yarn in your left hand.
- Wrap the yarn around your left thumb and index finger, with the working yarn on top.
- Insert the right needle between the two strands of yarn on your left thumb.
- Wrap the working yarn around the right needle counterclockwise.
- Pull the wrapped yarn through the loop on your thumb, creating a new stitch on the right needle.
- Repeat steps 5-7 until you have the desired number of stitches on the needle.
Knitting the Paisley Pattern
Once you have cast on the stitches, it's time to start knitting the paisley pattern. The pattern may involve a combination of different stitches, such as knit, purl, increases, and decreases. It's important to follow the pattern instructions carefully and to keep track of your rows and stitches.
Here are some tips for knitting the paisley pattern:
- Use a Stitch Marker: Place stitch markers at the beginning and end of each repeat of the pattern to help you keep track of your place.
- Work in Rows: Most paisley patterns are worked in rows, with the right side and wrong side of the knitting facing you alternately. Pay attention to the pattern instructions to determine which side of the knitting to work on each row.
- Make Increases and Decreases: Increases and decreases are used to shape the paisley motif. Follow the pattern instructions carefully to make the correct increases and decreases at the right places.
- Keep a Consistent Tension: Maintaining a consistent tension throughout the knitting process is important to ensure that the stitches are uniform and the pattern looks neat. Practice knitting a swatch before starting the blanket to get a feel for the tension.
Joining Colors
If you are using multiple colors in your paisley-patterned knit blanket, you will need to join the colors at the appropriate places. There are several methods for joining colors, including the Russian join and the Kitchener stitch.
The Russian join is a popular method for joining colors in knitting. It creates a seamless join that is almost invisible on the right side of the knitting. To join colors using the Russian join, follow these steps:

- Hold the two ends of the yarn together, with the working yarn on top.
- Wrap the top yarn around the bottom yarn twice, creating a loop.
- Insert the right needle through the loop from the front to the back.
- Pull the right needle through the loop, tightening it around the bottom yarn.
- Trim the ends of the yarn close to the join.
Finishing the Blanket
Once you have completed knitting the paisley pattern, it's time to finish the blanket. This involves blocking the blanket to shape it and make the stitches more uniform, and adding a border or edging for a finished look.
- Blocking: Blocking is the process of wetting the blanket and stretching it to the desired shape. It helps to relax the fibers and make the stitches more even. To block the blanket, follow these steps:
- Fill a sink or basin with lukewarm water and a small amount of mild detergent.
- Submerge the blanket in the water and gently swish it around to remove any dirt or debris.
- Rinse the blanket thoroughly with clean water.
- Roll the blanket in a towel to remove excess water.
- Lay the blanket on a flat surface covered with a towel or blocking mats.
- Use T-pins to pin the blanket to the surface, stretching it to the desired shape.
- Let the blanket dry completely before removing the pins.
- Adding a Border or Edging: Adding a border or edging to the blanket can enhance its appearance and give it a finished look. You can choose a simple single crochet border, a knitted ribbing, or a more elaborate lace edging. Follow the pattern instructions for the border or edging you choose.
Conclusion
Making a knit blanket with a paisley pattern is a rewarding and creative process. It allows you to express your personal style and create a unique, handmade item that will be cherished for years to come. As a Knit Blanket supplier, I'm passionate about sharing my knowledge and expertise with others. If you're interested in purchasing high-quality knit blankets or have any questions about the knitting process, please feel free to contact me for a procurement discussion. I look forward to working with you to create the perfect blanket for your needs.
References
- "Knitting Patterns for Beginners" by Maggie Righetti
- "The Complete Book of Knitting" by Vivian Hoxbro
- Online knitting communities and forums for inspiration and tips